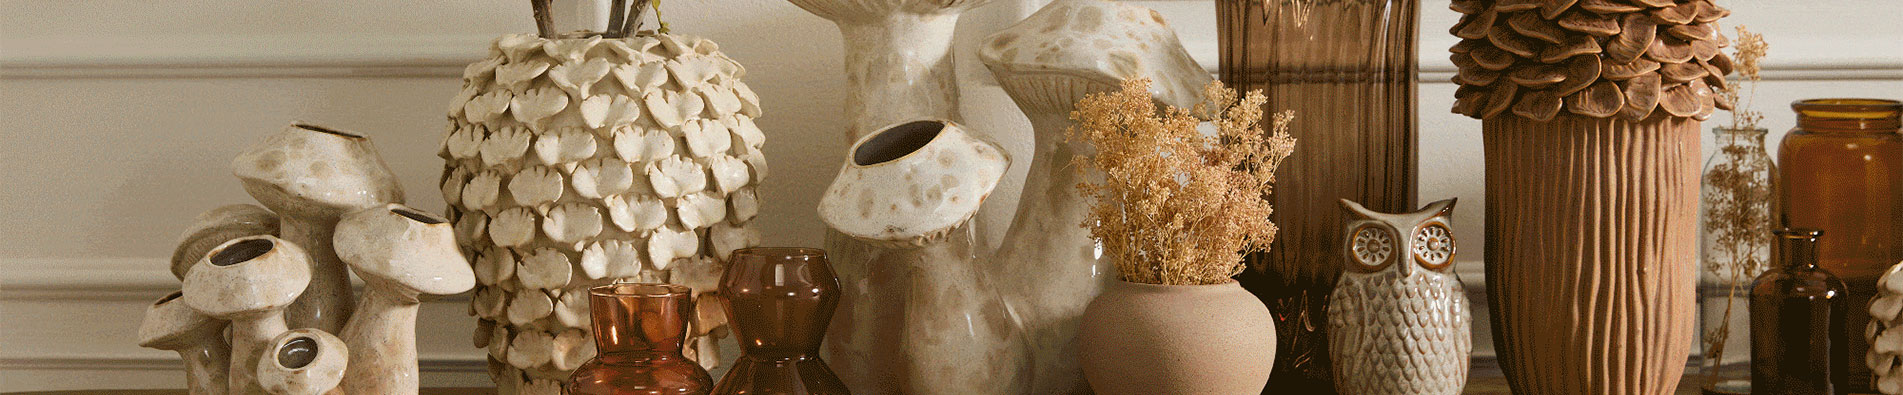


Resin handicrafts, with their intricate texture and rich shapes, have become a popular choice for home decoration and collection. However, many people are unaware that a delicate resin piece starts as a lump of clay and goes through more than ten processes before it takes shape. Today, we will reveal the complete resin handicrafts manufacturing process, showing you how ordinary resin turns into an amazing work of art.
Step 1: Design and Clay Model Sculpting The starting point of all resin handicrafts is the design draft. The designer draws detailed diagrams based on the theme, determining the size, proportion, and details. Then comes the stage of clay model sculpting, which is the most challenging part for manual skills. Craftsmen use sculpting clay to mold the prototype according to the design. From tiny details like hair to the overall posture, everything must be accurately presented. The fineness of the clay model sculpting directly determines the effect of the finished product.
Step 2: Silicone Mold Making After the clay model is confirmed to be error-free, the silicone mold making process begins. First, a release agent is applied to the clay model. Then, liquid silicone is layered over it to form a mold of appropriate thickness. An external mold made of gypsum or fiberglass is added to reinforce the shape. Once cured, the flexibility of the silicone allows it to perfectly reproduce all the details of the clay model. High-quality silicone mold making is the key for resin handicrafts to restore fine textures.
Step 3: Resin Mixing and Pouring Next comes the resin pouring stage. The craftsman mixes resin, curing agent, and color paste in a specific ratio. After removing air bubbles (often using a vacuum machine for large ornaments), the mixture is slowly poured into the silicone mold. Bubbles must be avoided to prevent flaws in the resin handicrafts manufacturing process.
Step 4: Solidification and Demolding The filled molds are placed in a temperature-controlled environment to cure. The curing time depends on the resin type, usually ranging from a few hours to one day. After the resin is completely hardened, demolding is carried out. The resin blank now has the basic shape but still has a rough surface that requires further processing.
Step 5: Edge Trimming and Polishing The demolded resin blank will have mold lines and excess edges. Craftsmen use utility knives and files to trim these parts. Then, they use sandpapers of different grits (from coarse to fine) to polish the surface, making it smooth and ready for coloring.
Step 6: Coloring and Special Effects This step brings the resin handicrafts to life. Craftsmen color the blanks using acrylic or oil-based paints, applying layers to create depth—such as realistic skin tones or clothing textures. Special effects, like vintage cracks or aged textures, are also applied here to enhance the artistic appeal.
Step 7: Sealing and Final Polish The final step involves fine polishing to enhance gloss, followed by applying a sealant or varnish. This not only makes the color last longer but also protects the surface from scratches and oxidation. After going through these seven core steps of the resin handicrafts manufacturing process, a raw material is transformed into a delicate masterpiece. This combination of clay model sculpting and precise molding is why resin handicrafts possess both beauty and texture.
Copyright @ 2026 Xiamen Lixinxing Industrial&Trade CO.,LTD. All Rights Reserved.  Network Supported
Leave A Message
Scan to WhatsApp :